1213
1213
Microsoft Authenticator App with Laptop Email
Please use these directions to sign into the email on your laptop using the Microsoft Authenticator App on a phone or iPad.
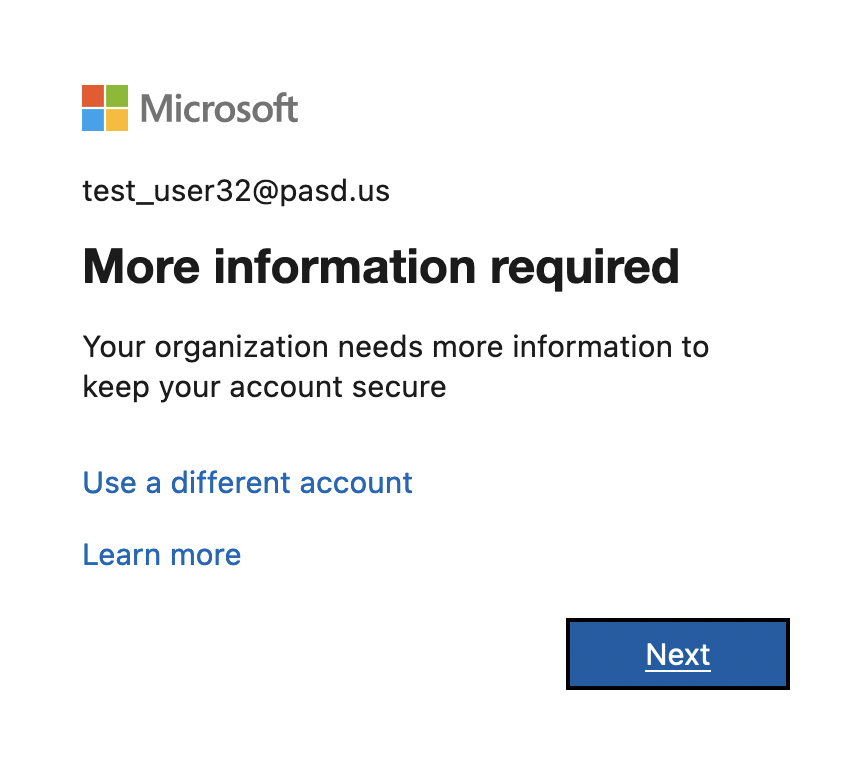
-Open your browser and visit myaccount.microsoft.com.
-If prompted for more information, click next.
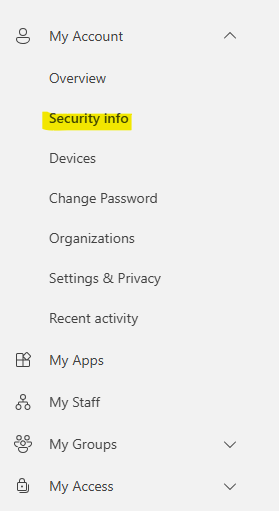
-Otherwise click Security Info in the left panel then click Add sign-in method.
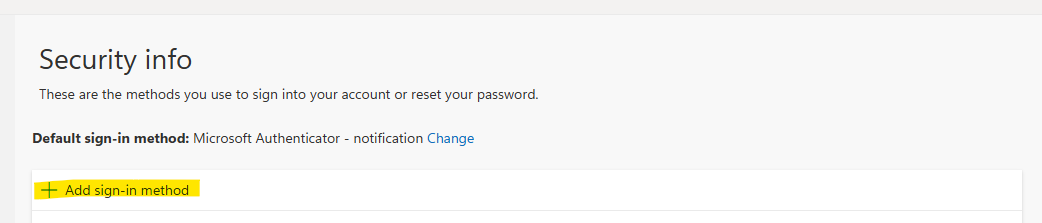
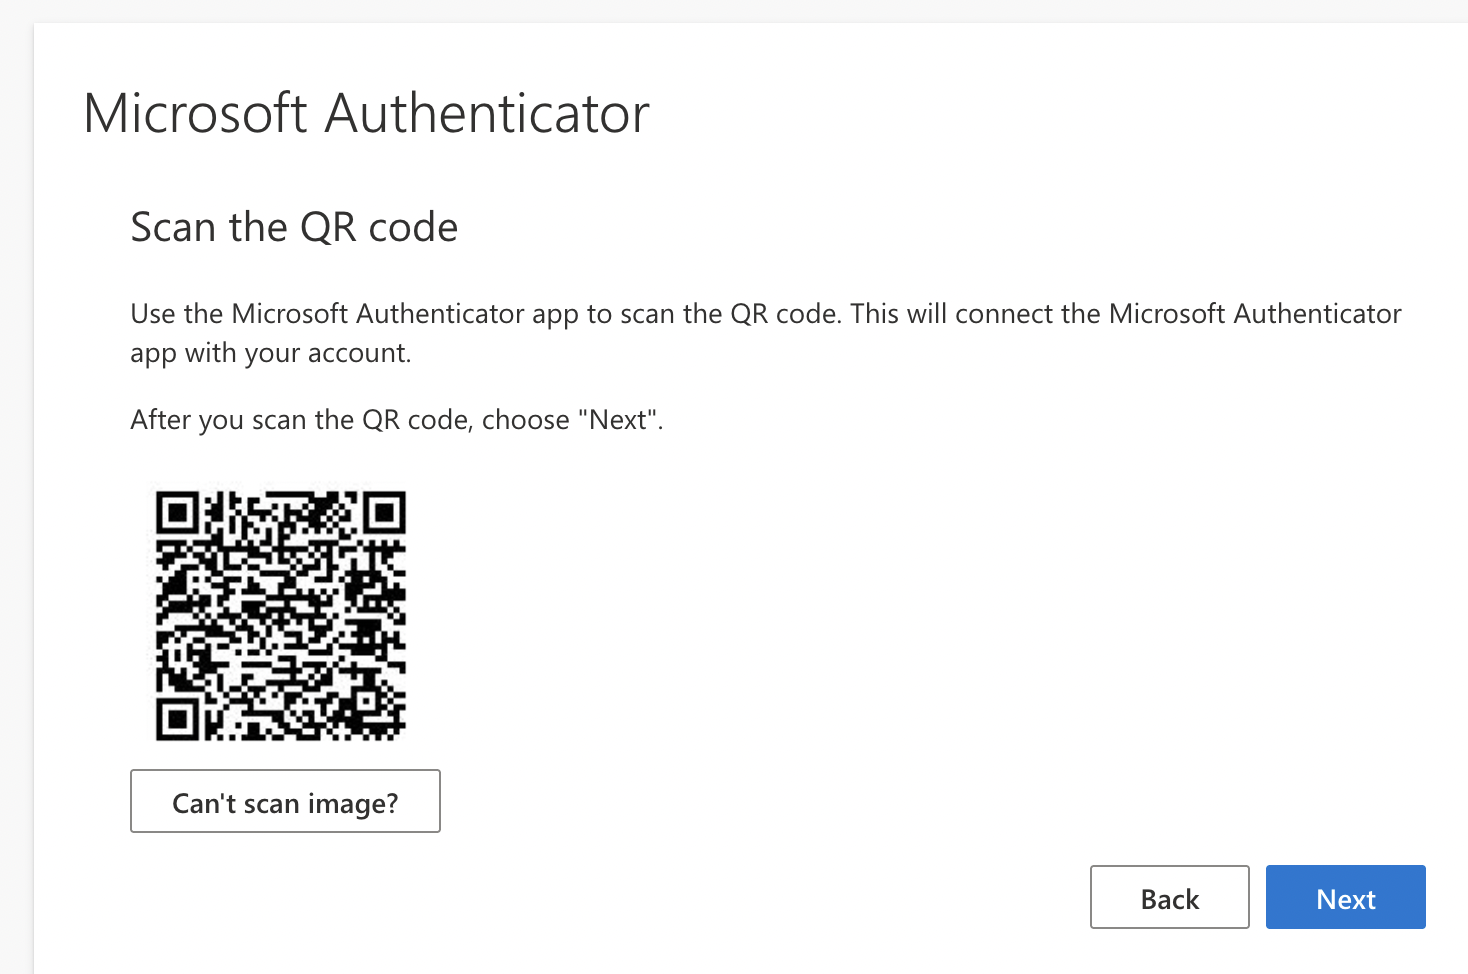
-Select Microsoft Authenticator. You will now see this screen.
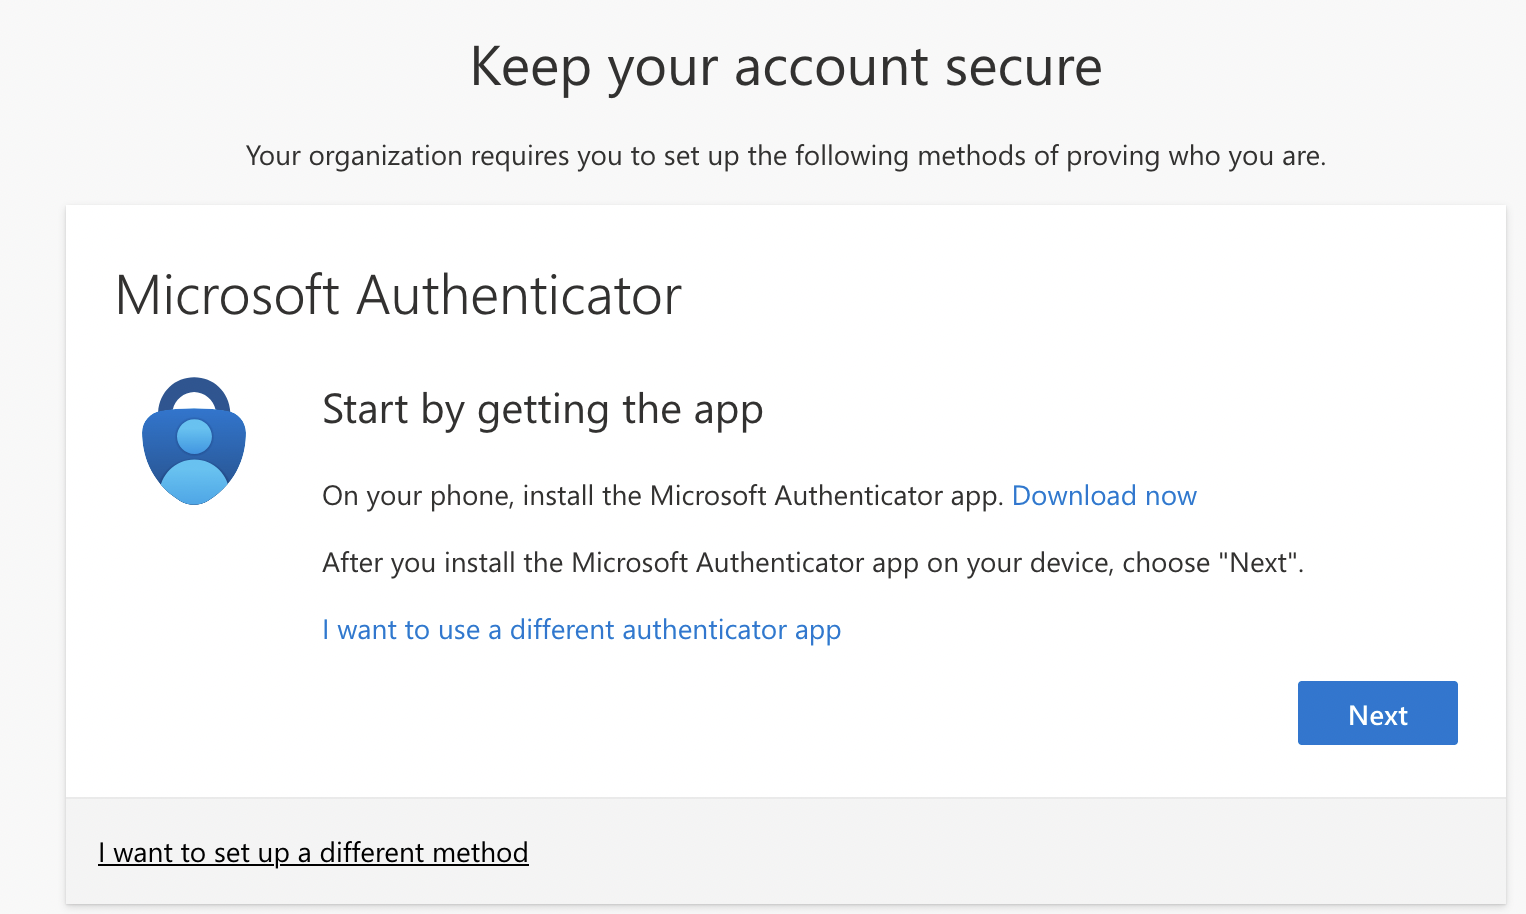
-Download the Microsoft Authenticator App to your device from your app store . *Please make sure it is the correct app as there are a few similar ones in the App store!

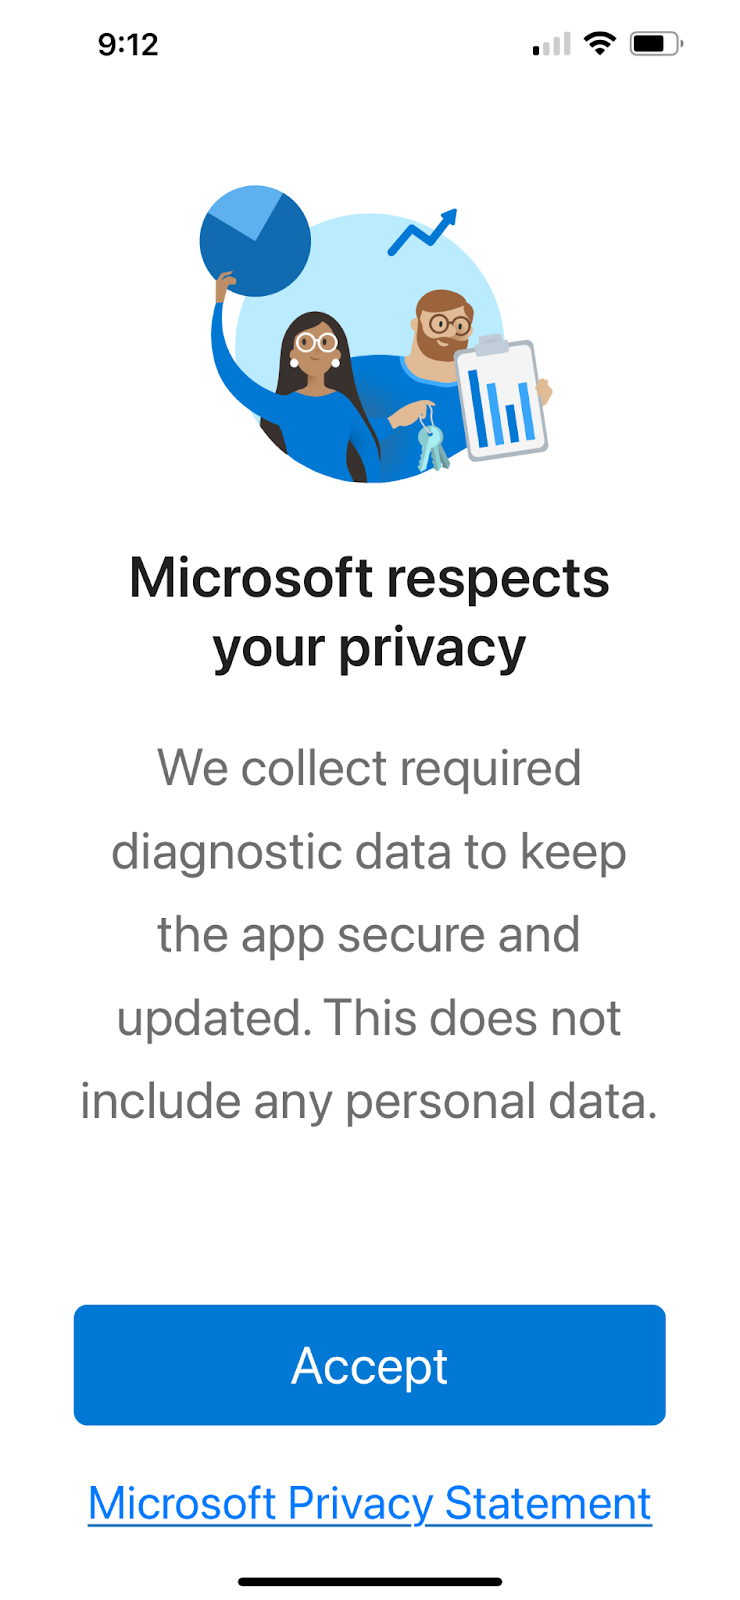
-Open the app and click “Accept” next to the privacy statement.
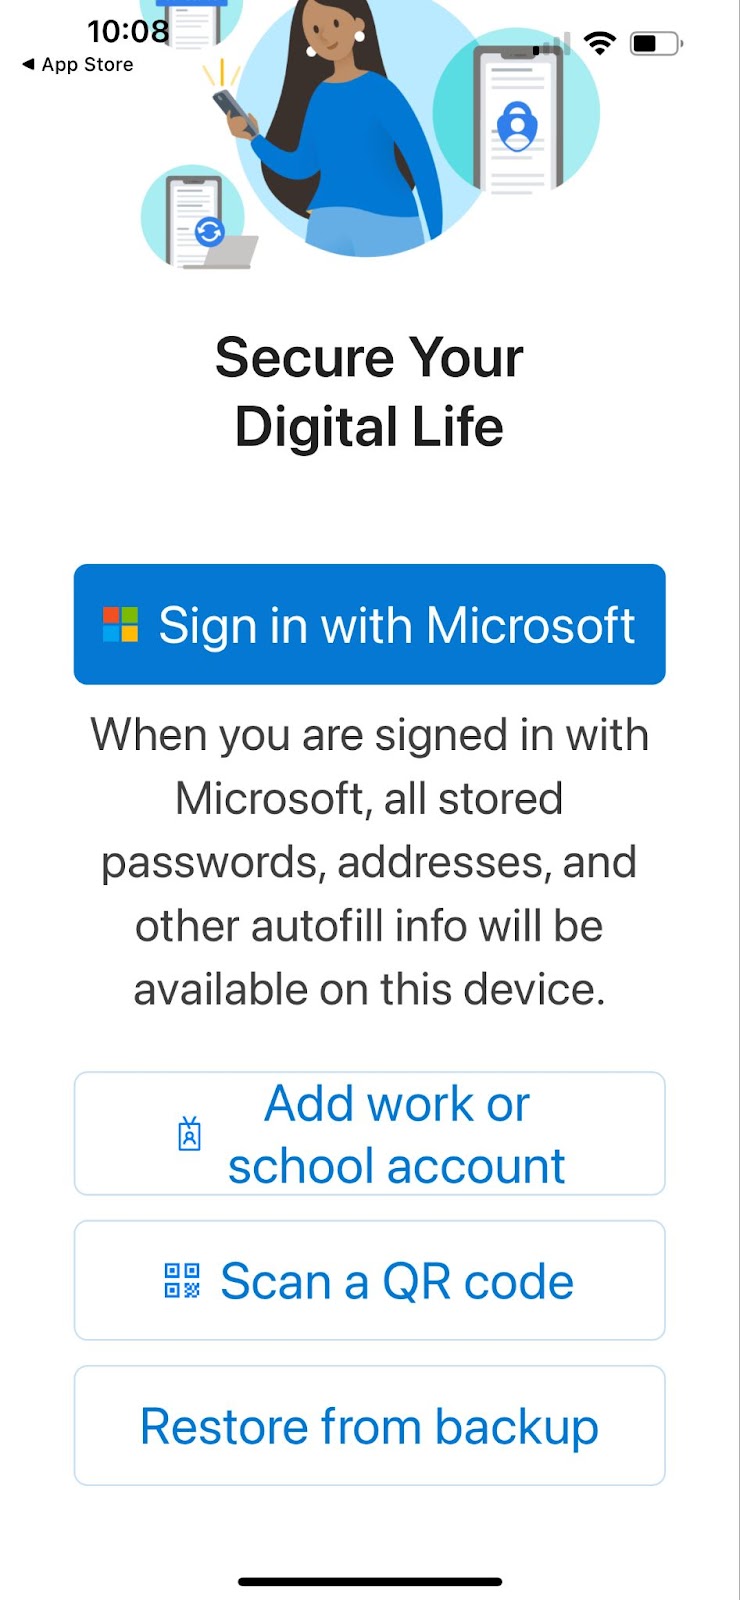
-Click “Continue”.
-Scroll to the bottom of the screen on your device and click “Scan a QR code”. Click “Ok” to allow Authenticator to access the camera.
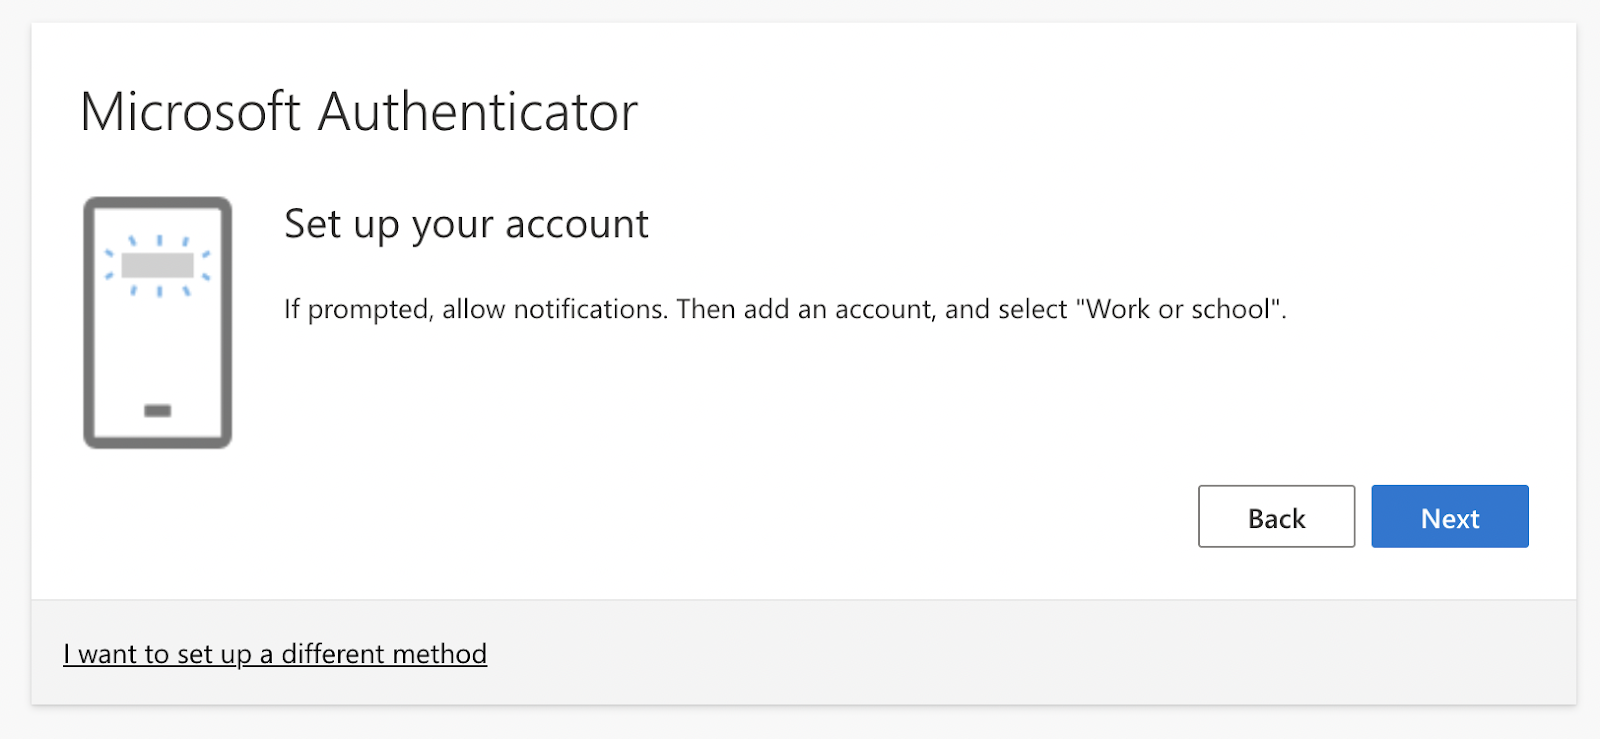
-On your laptop, click Next.
-Click “Next” again on your laptop.
-You will now see a QR code. Scan the code with your device.
-Click “Allow” on your device to send notifications.
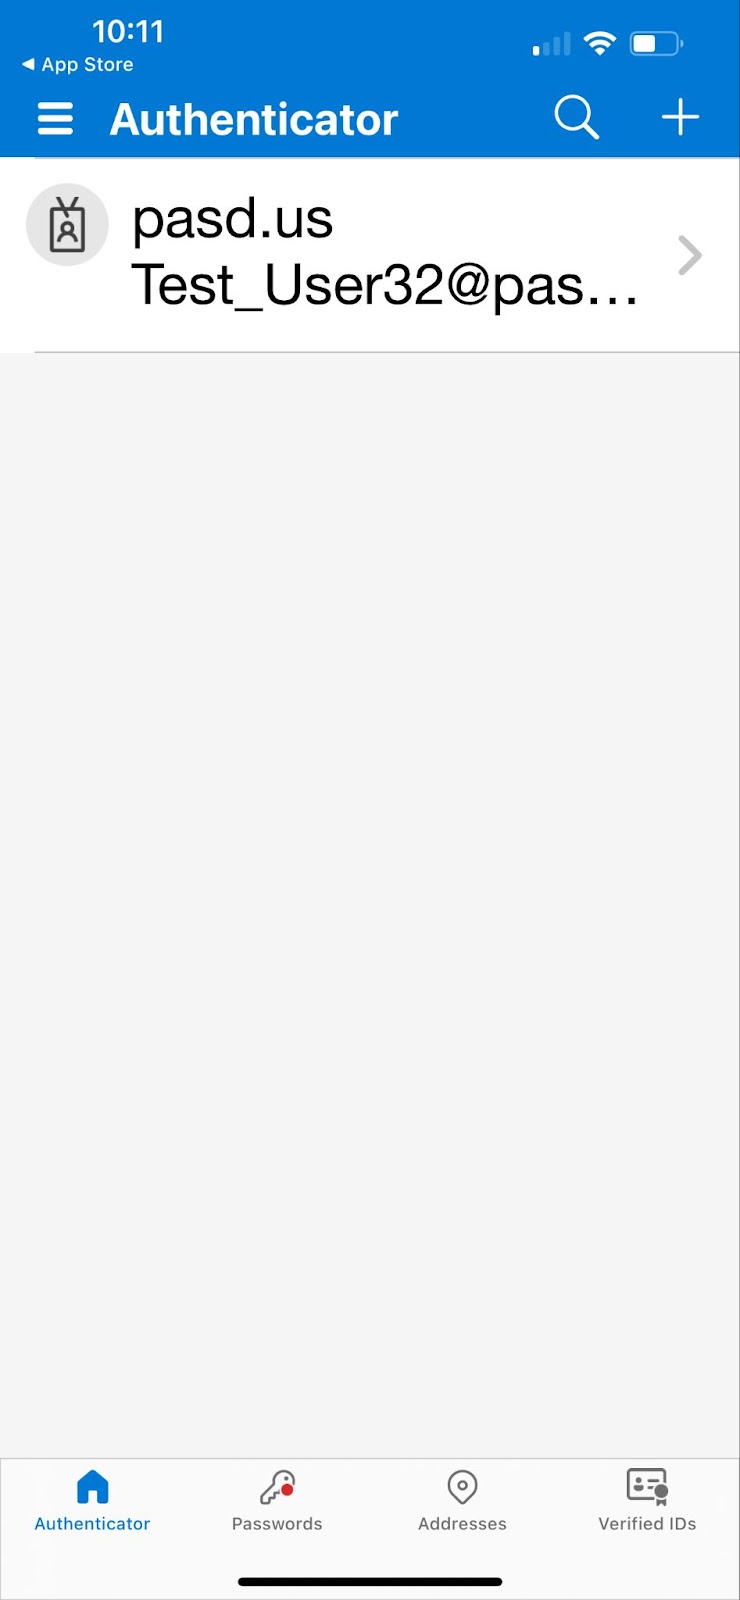
-Click the PASD email account on your device. Click “Next” on the laptop browser window with the QR code.
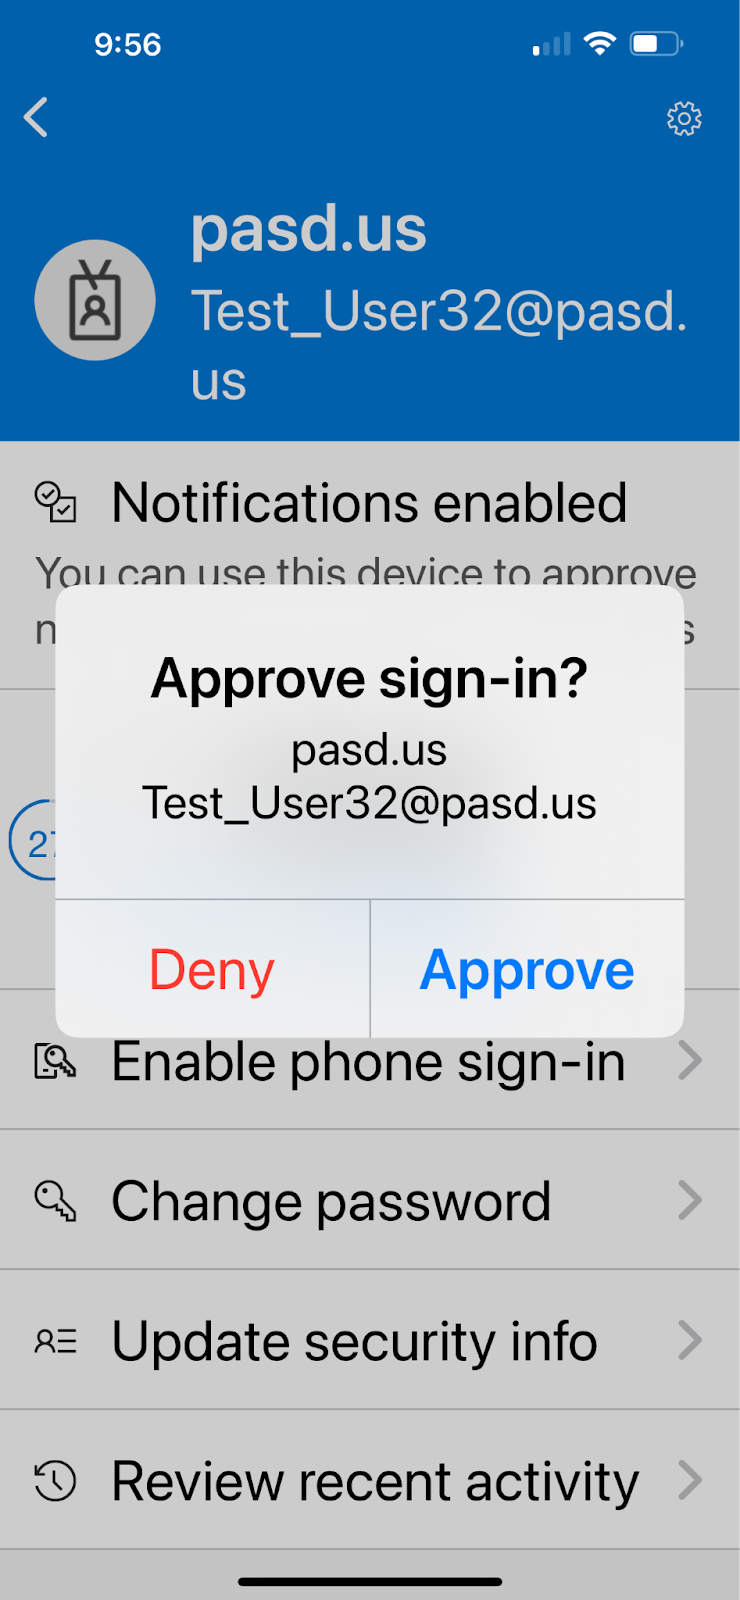
-Approve the sign in on your device.
-Click “OK” to allow Face ID if desired.
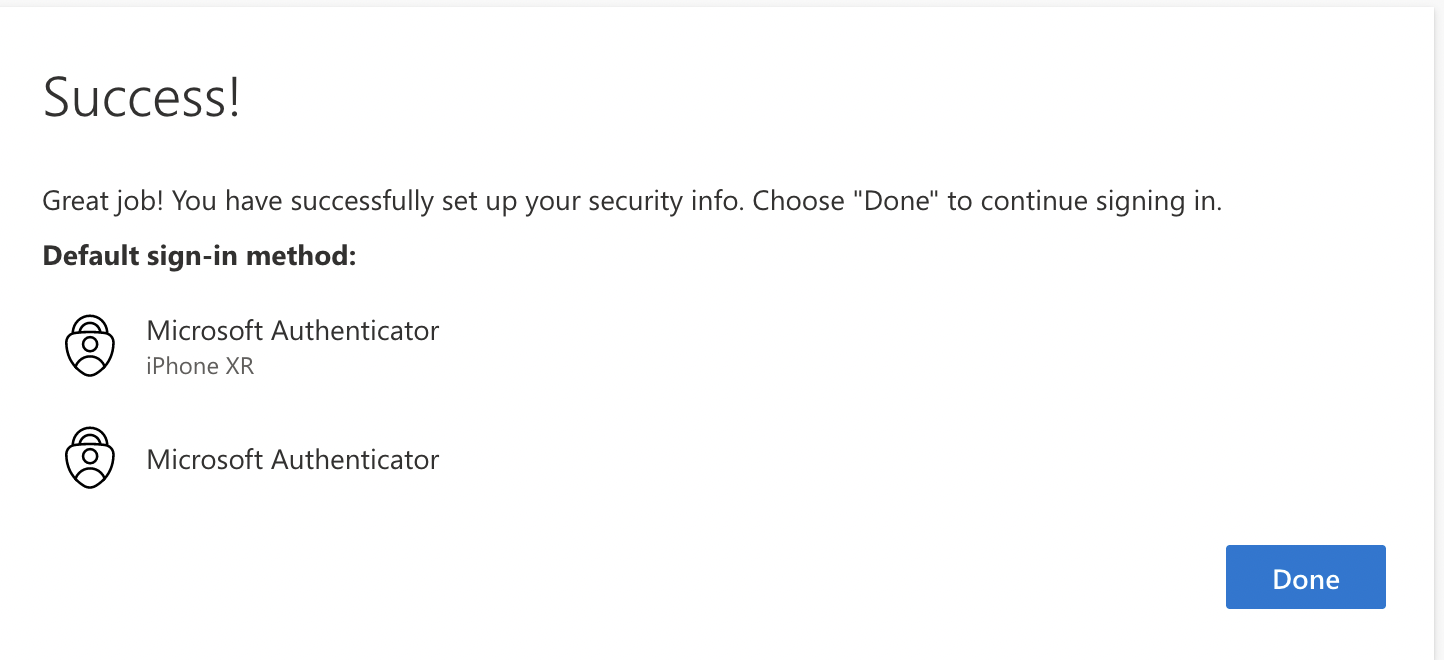
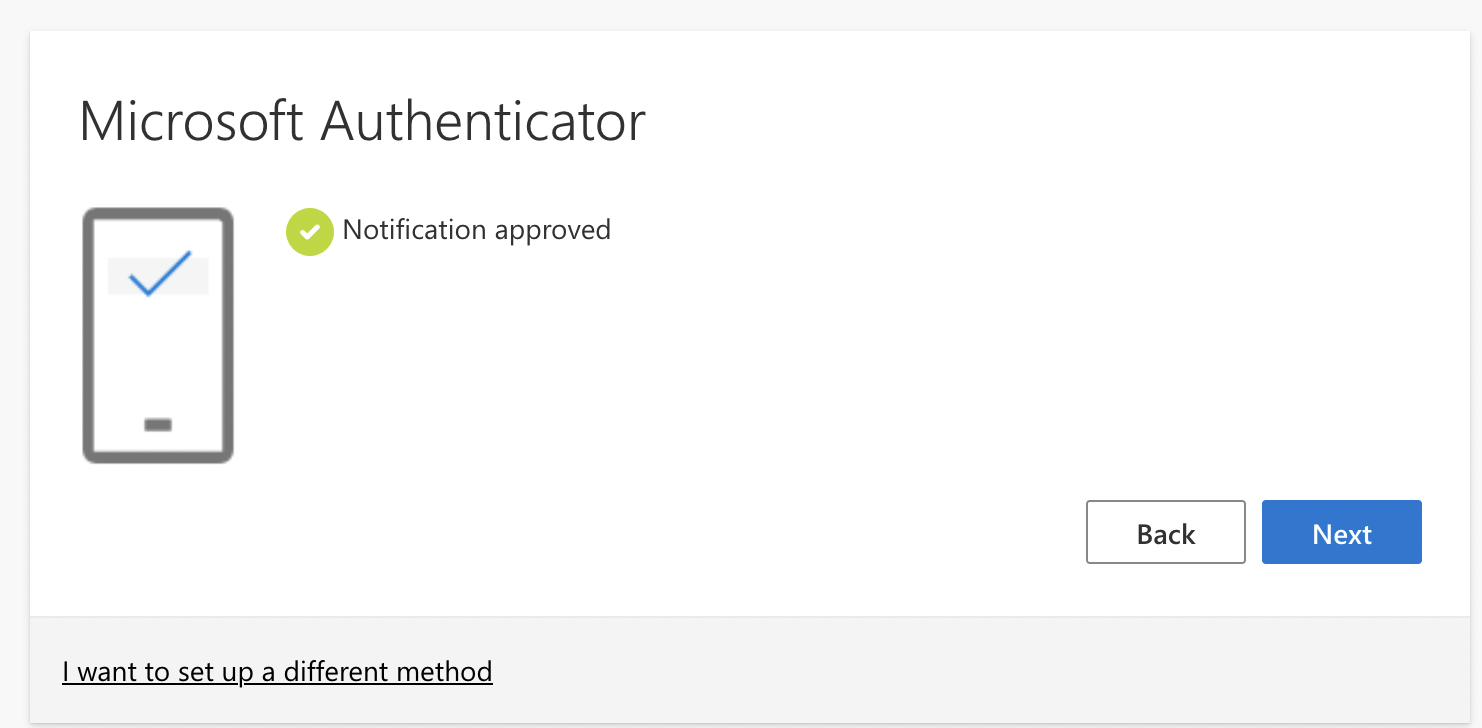
Notification will now be approved on your laptop email. Click Next.
-Click Done on your browser.