 854
854
Microsoft Authenticator App with iPad Email
Please use these directions to sign into the email app on your iPad using the Microsoft Authenticator App on a phone or iPad.
-Open your browser and visit myaccount.miscrosoft.com.
-If Prompted for more information, click next.
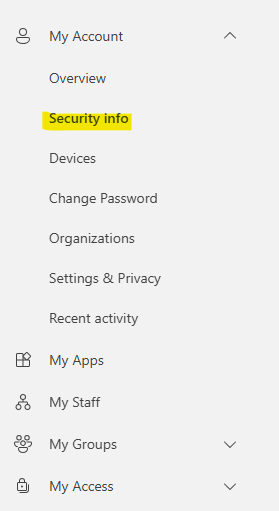
- Otherwise click Security Info in the left panel then click Add sign-in method.


-Select Microsoft Authenticator. You will now see this screen.
-Download the Microsoft Authenticator App to your device from your app store (if it is a PASD iPad, it is in Self-Service). *Please make sure it is the correct app as there are a few similar ones in the App store!
-On your iPad, click Next. You will now see a QR code. Underneath the QR Code, choose “Can’t Scan Image”.
You will receive a numerical code. Click the box next to the code to copy the code.
-Open the Authenticator App click “Accept” next to the privacy statement.
-Click “Continue”.
-Scroll to the bottom of the screen on your iPad and click “Scan a QR code”. Click “Ok” to allow Authenticator to access the camera.
-Choose “Or enter code manually”
-Choose Work or School Account
-Enter the Code and URL. To make it easier, find the code in Authenticator and copy it in. Go back to Authenticator and copy the URL and paste it in. This info is on the page with the QR code.
-Click “Finish” and then Allow Push Notifications.
-Go back to your settings browser and you will see this screen:
-Go back to the Settings screen and you will see this message. Approve the notification allowing the sign in.
-After you click approve, click Next and you will get this screen. Click Done.
-You will be brought back to the Settings screen. Hit Save.


